We share our tips on how to safely and effectively remove creases and wrinkles from a wedding veil.
Removing creases from your wedding veil is a delicate process that requires time, patience and the right tools. It’s not uncommon for creases and wrinkles to appear on a veil, especially if the veil has been stored for a while. By following this step-by-step guide, you can ensure your veil looks pristine and elegant as you walk down the aisle. Remember, always handle your veil with care and give yourself enough time before the wedding day to address any wrinkles.
Step 1: Assess the fabric
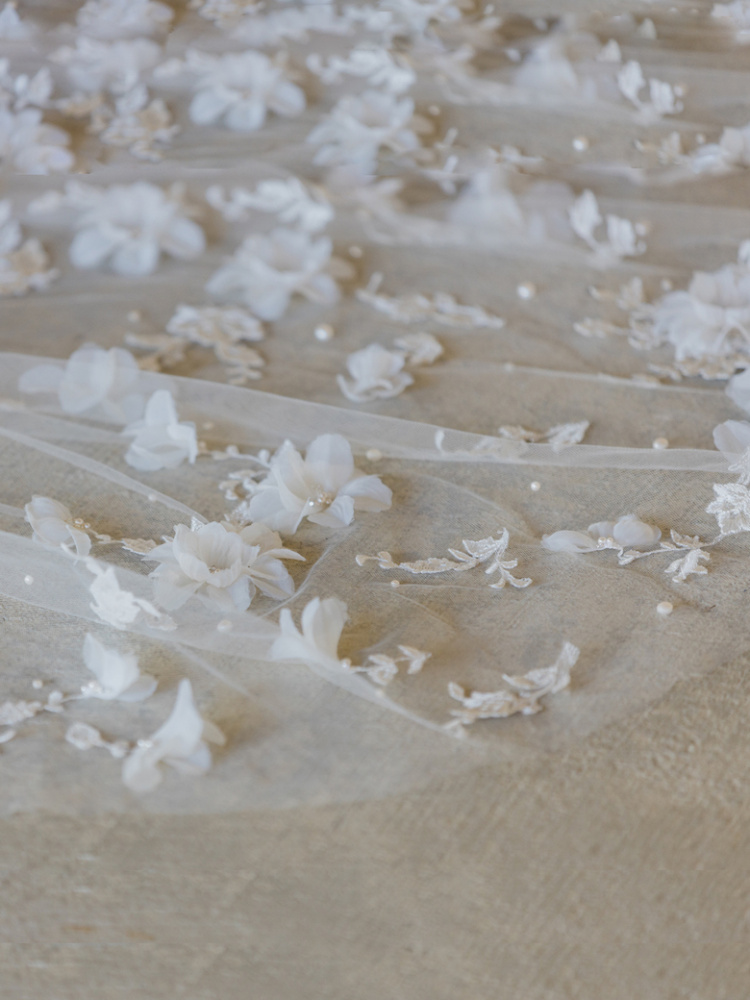
Before you start working on the creases, it’s important to understand the type of fabric your veil is made of. Veils are typically made from delicate materials like tulle and lace, but sometimes they are made from chiffon or organza. These fabrics are often made from man-made fibres so are sensitive to heat and can melt under high heat.
- Tulle and lace: These fabrics are delicate and can be sensitive to heat, so they require gentle handling.
- Chiffon and organza: These are slightly more resilient but still need careful attention to avoid damage.
Step 2: Hang your veil
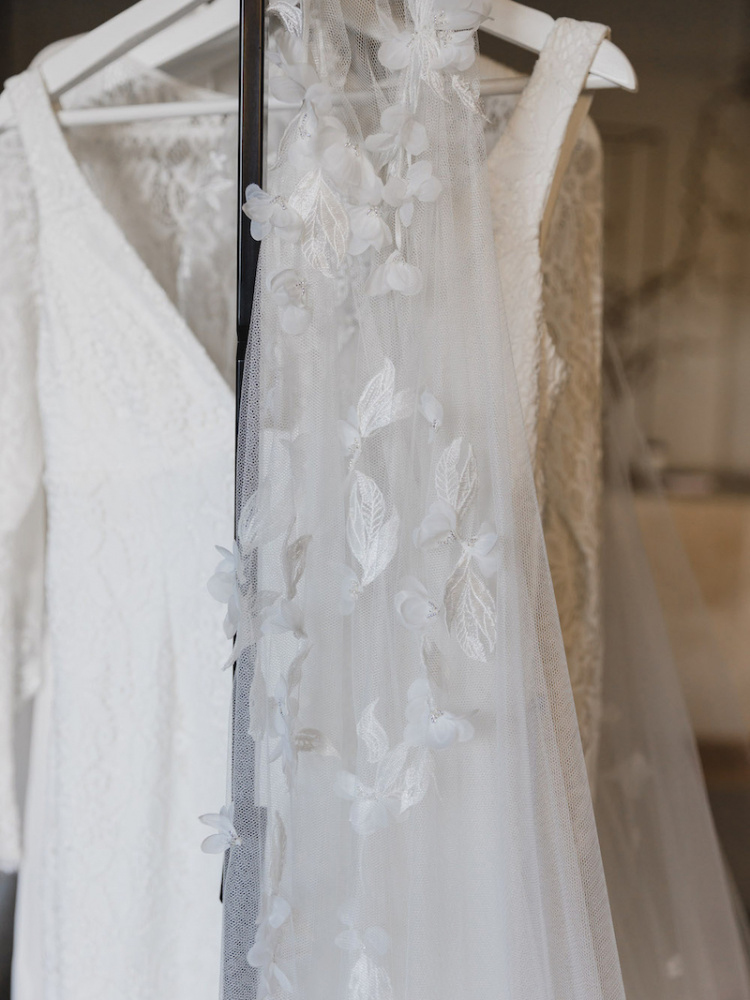
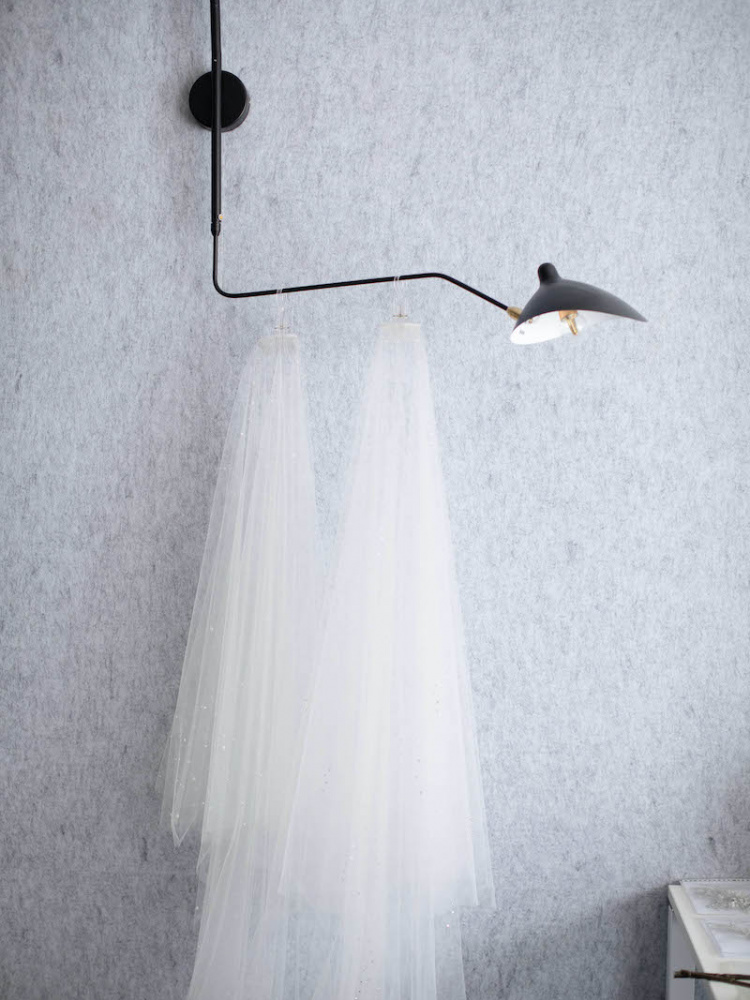
The easiest and most effective way to remove minor creases is to hang the veil.
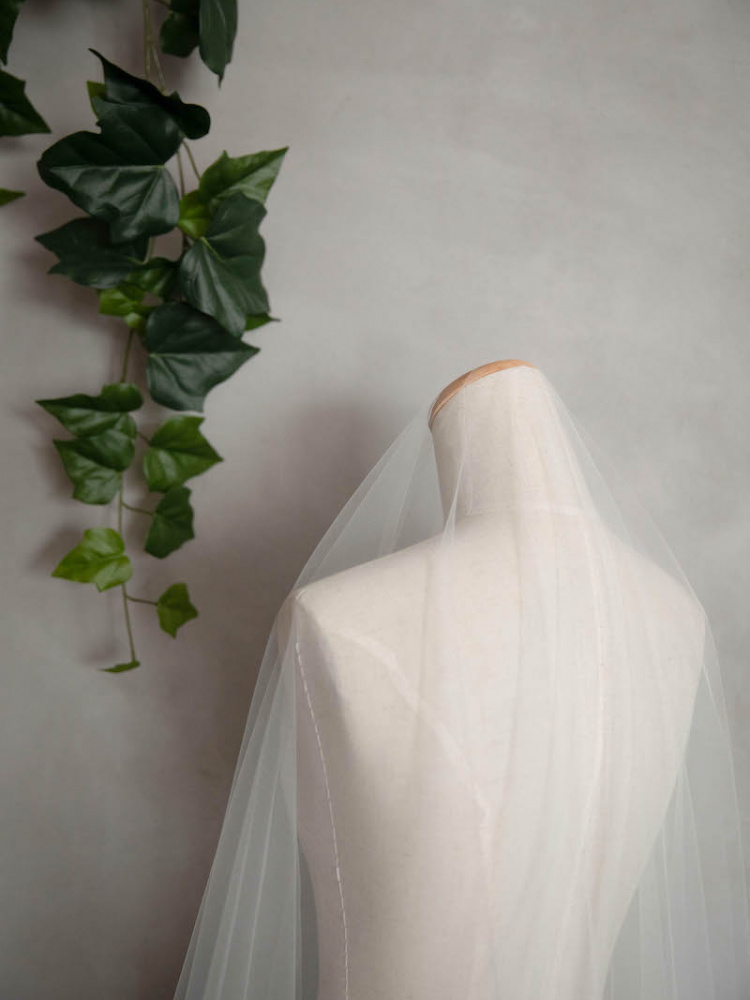
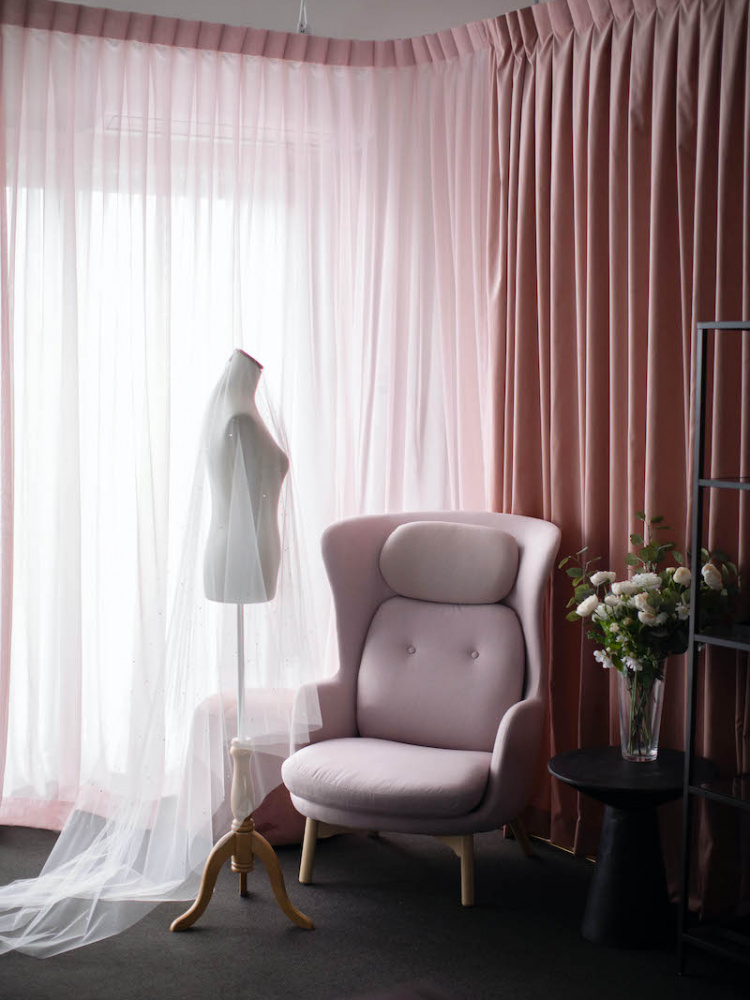
- Hang it up: Find a clean, dry, and well-ventilated area to hang your veil. Use a padded hanger to avoid creating new creases or indentations.
- Let gravity do it’s work: Allow gravity to naturally pull the creases out over time. This method can take a few days, so it’s best to hang your veil up at least a week before the wedding.
Step 3: A steamer is your friend
If your veil still has wrinkles after hanging, a steamer can help smooth them out.
- Choose a gentle steamer: Use a hand-held fabric steamer that allows you to control the intensity of the steam. Avoid using an iron directly on the veil, as this can cause damage or create new creases.
- Steam from a distance: Hold the steamer about 15-30cm (6-12 inches) away from the veil to avoid direct contact. Gently move the steamer back and forth, allowing the steam to relax the fibres and remove wrinkles.
- Work in sections: Start from the top and work your way down, focusing on one section at a time to ensure even steaming.
Step 4: Use steam from your bathroom
If you don’t have a steamer, you can use your bathroom to create a similar effect.
- Run a hot shower: Turn on the shower and let the bathroom fill with steam. Make sure the water does not directly touch the veil.
- Hang the veil: Hang your veil in the bathroom, away from direct water contact but close enough to benefit from the steam.
- Leave for 15-20 minutes: Allow the veil to hang in the steamy bathroom for about 15-20 minutes. The steam will help relax the fabric and smooth out the creases.
- Check the veil: After steaming, check the veil for any remaining wrinkles and repeat the process if necessary.
Step 5: Use a low-heat iron (only if absolutely necessary)
If the veil still has stubborn creases and you are confident in your ability, you can carefully use a low-heat iron in an inconspicuous place as a test patch.
- Set the iron: Set the iron to the lowest possible setting, suitable for delicate fabrics. Use a pressing cloth between the iron and the veil to protect the fabric.
- Iron gently: Gently press the iron over the veil with minimal press, focusing on one small section at a time. Avoid sweeping motions where the fabric gets pulled. Also avoid using steam unless you’re confident the fabric can handle it.
- Avoid lace and embellishments: Never iron directly over lace, beading or other embellishments, as this can damage them.
Step 6: Final touches
Once you’ve removed the creases, it’s important to ensure your veil stays wrinkle-free until the big day.
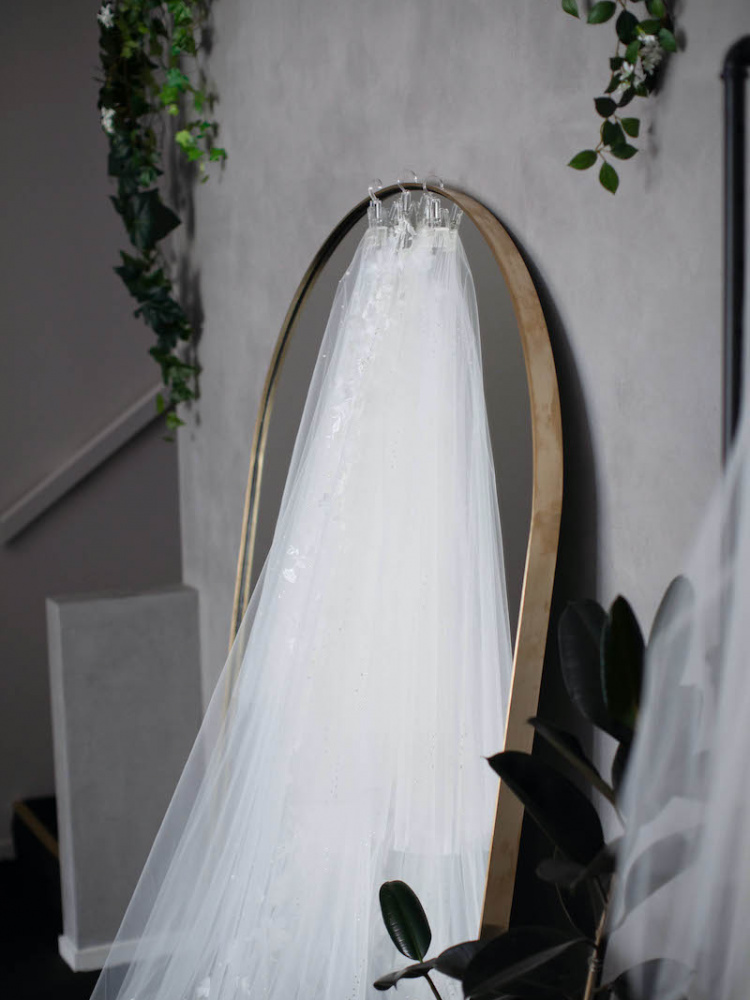
- Store carefully: If you need to store the veil after removing creases, hang it in a garment bag to protect it from dust and potential new wrinkles.
- Transporting the veil: When transporting your veil to the wedding venue, keep it in a hanging garment bag. If it needs to be folded, do so carefully and re-hang it as soon as possible upon arrival.
Need personalised styling advice?
Feel free to send us an email with photos of your wedding dress and bridal hairstyle and we would be happy to send you recommendations and ideas via email.
Every wedding gown and bride is different and the perfect accessories for you will not only depend on your gown but your personal style, vision, height and style. We love to work with our brides to create the perfect veil that you will love to keep as an heirloom after your wedding day. We are based in Australia and ship worldwide.
You may like
- How to elope with a wedding veil
- 3 steps to finding your perfect wedding veil
- How to secure a metal hair comb
- Everything you need to know about cathedral veils
- How to choose the best long wedding veil
- Wedding hair trials: 5 tips for perfect wedding hair
- How to style a dramatic wedding veil
- How to choose bridal earrings to match your neckline


