How to elope with a wedding veil
Now that restrictions are beginning to lift in some parts of the world, we’re seeing more and more brides move towards small intimate weddings and elopements. For a lot of our brides, a change of wedding venue has meant a change in wedding gown. It’s understandable why you might feel disappointment or a little lost about the changes you’ve had to make, the sadness of not having the wedding you had originally hoped for, not having all of your nearest and dearest with you on your special day, and confusion about how to bring together your new bridal look.
If you now find yourself planning an elopement or a much smaller wedding, there’s still a lot to be excited about. A low key, no fuss wedding can still feel ultra glamorous and timeless. If you’re set on a mood that’s ethereal or dramatic, this can still be possible with the right details. Key elements such as an exquisite bouquet, that perfect veil or headpiece, and a jaw dropping natural backdrop can create some inspiring images that will captivate and delight for years to come.
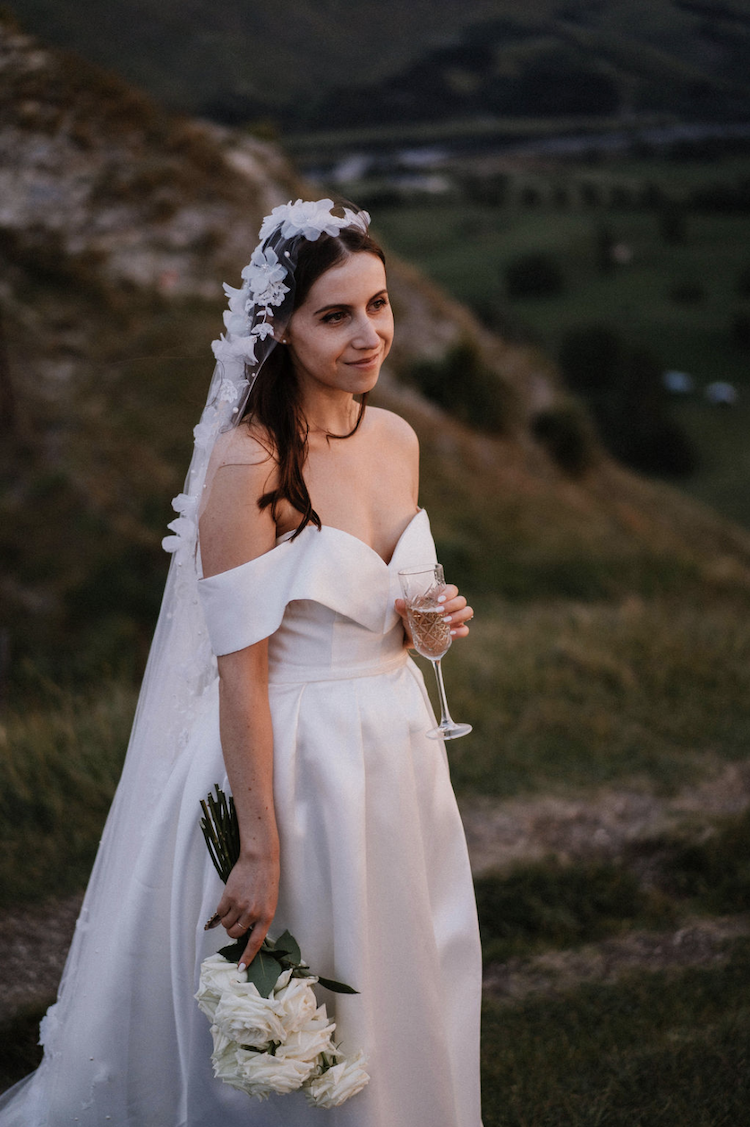
Photo credit: RIVIERA veil via Michael Schultz Photography
1. Don’t be afraid to wear a long veil
We often hear brides ask whether it would look out of place to wear a long veil for their elopement or smaller wedding. The short answer is, long works as long as it’s not too long. For practicality, we recommend ensuring the veil is a similar length to your dress train (up to 2.5m) so it’s easier to manage on your own.
If you prefer the look of a slightly shorter long veil, you can still achieve the grandeur of a cathedral veil with a floor length or chapel veil instead.
A chapel veil isn’t just for the chapel. A veil that lands on the ground and extends on to your train is a beautiful way to capture a timeless wedding look without having to sacrifice this defining accessory. For a lot of brides who now find themselves with a simpler wedding dress or if you feel your wedding day will now lack the grandeur you had hoped for because of you’ve needed to downsize your wedding, a chapel veil will instantly transform even the simplest bridal ensemble.
A quick scroll through Pinterest will show some incredible mountain top or city hall wedding photos that showcase chapel and cathedral length veils blowing in the wind and adding drama to a natural backdrop in the most effortless way.
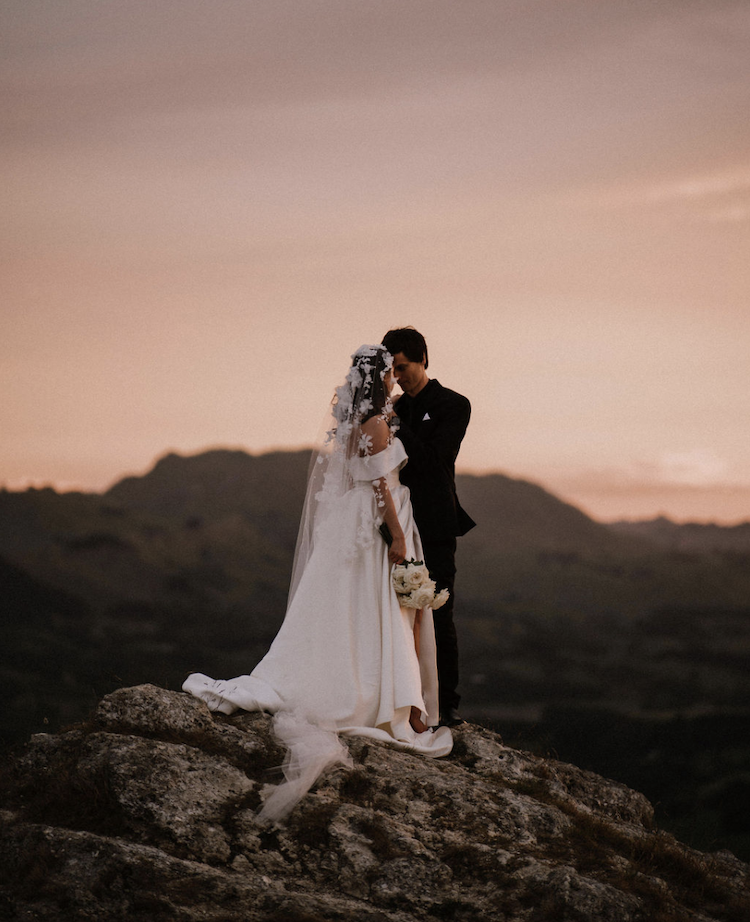
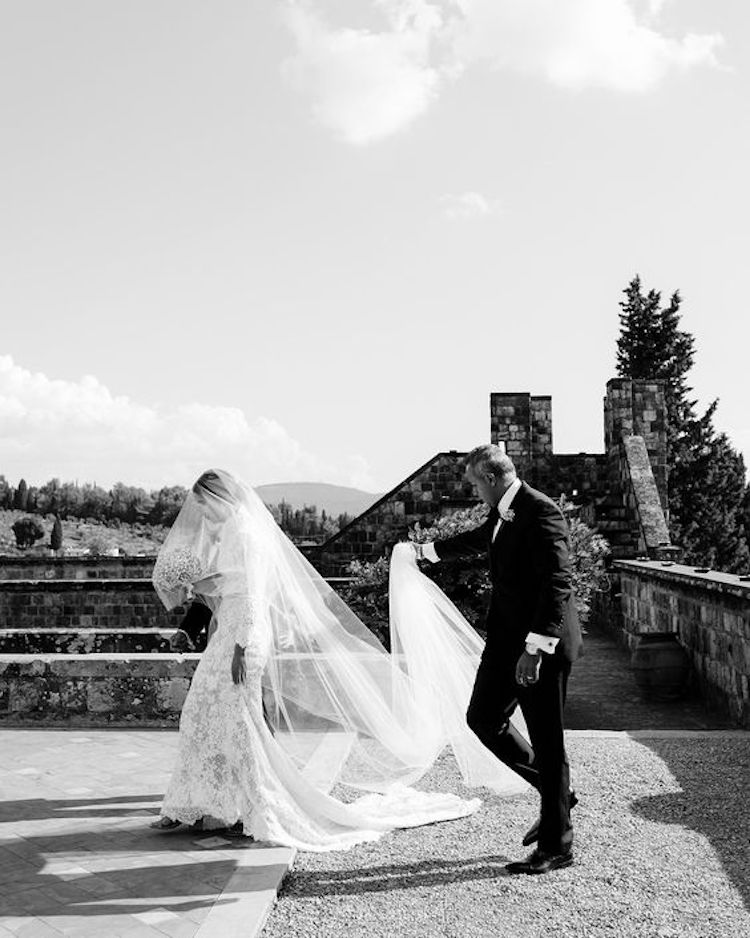
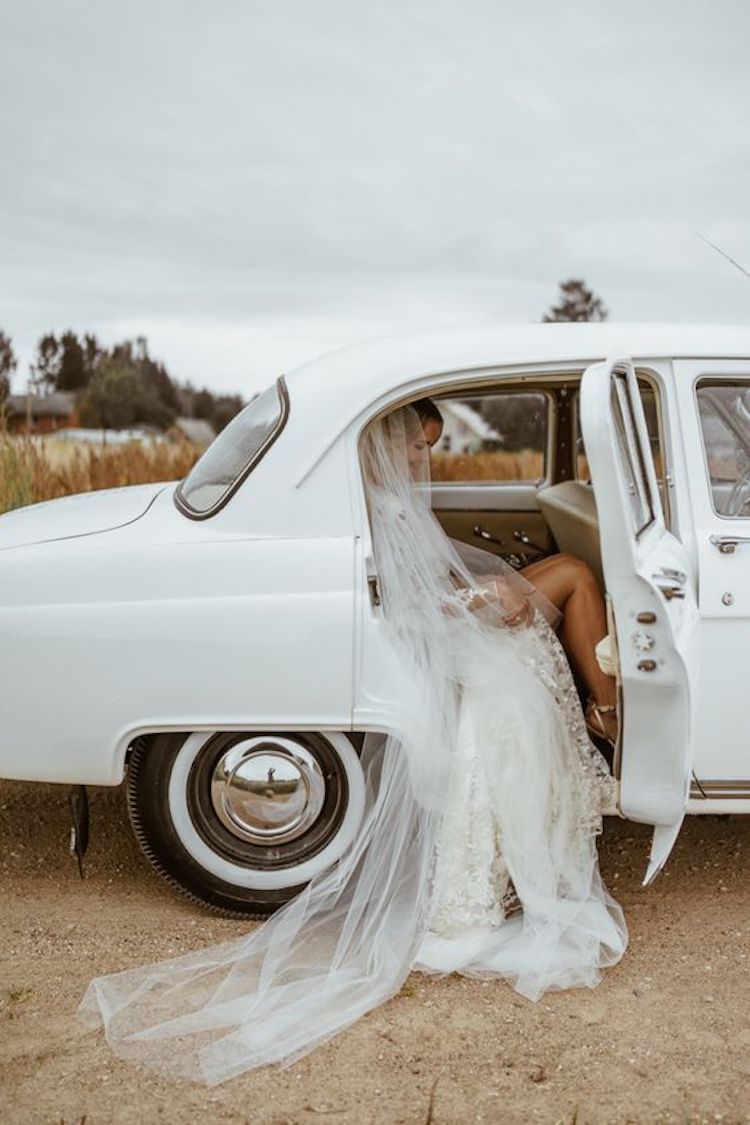
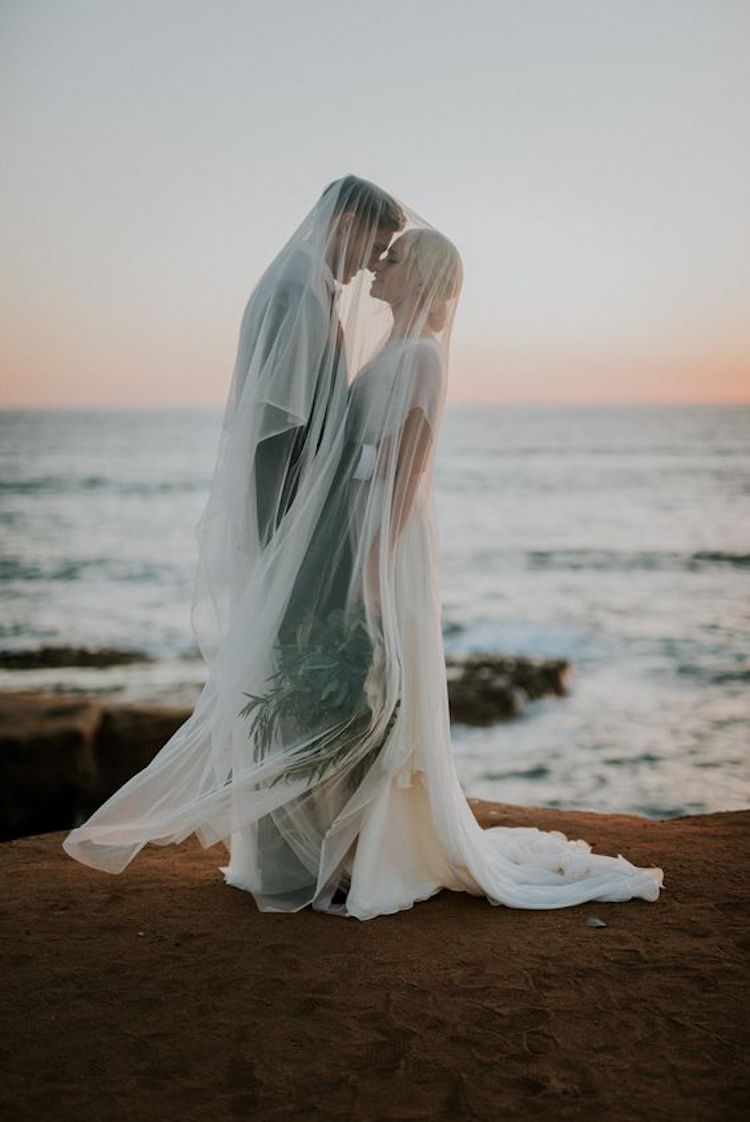
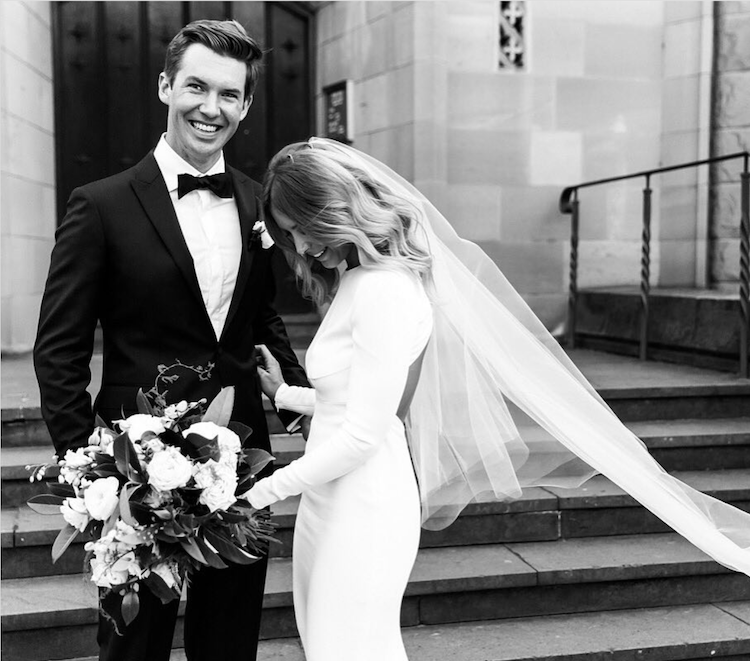
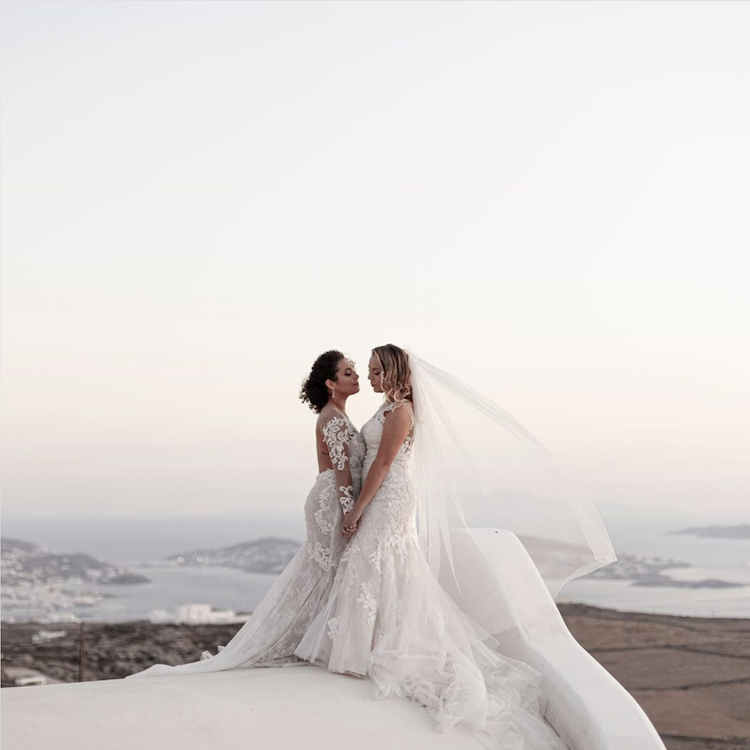
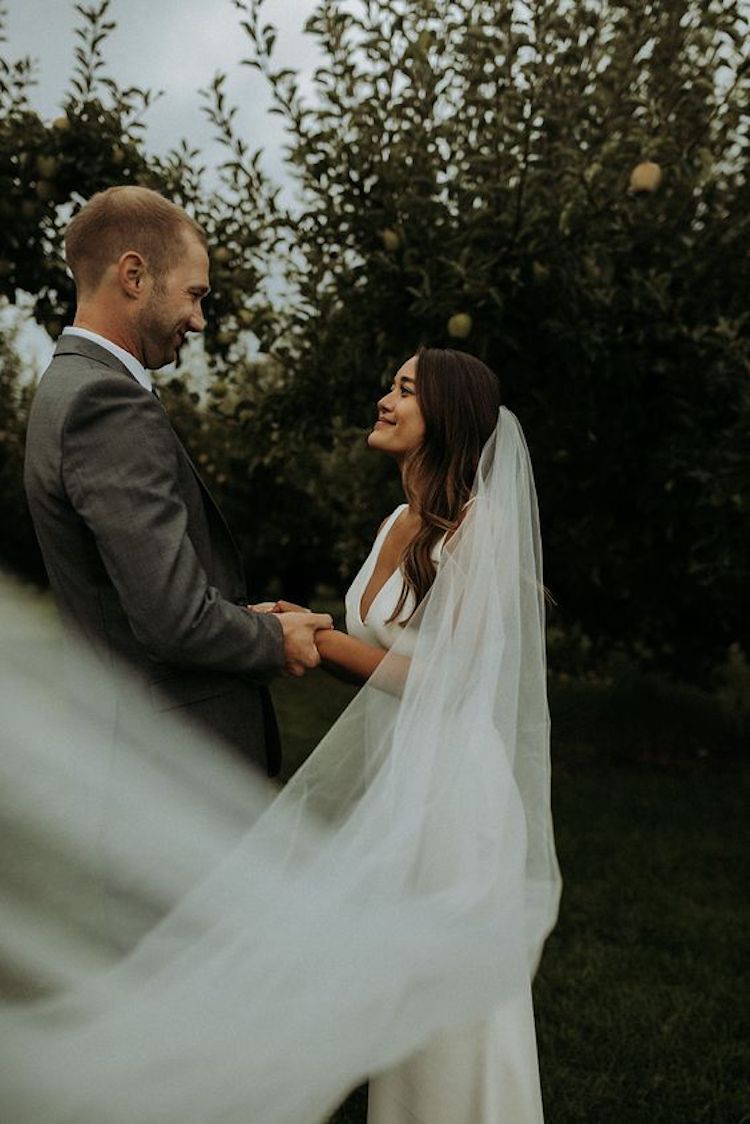
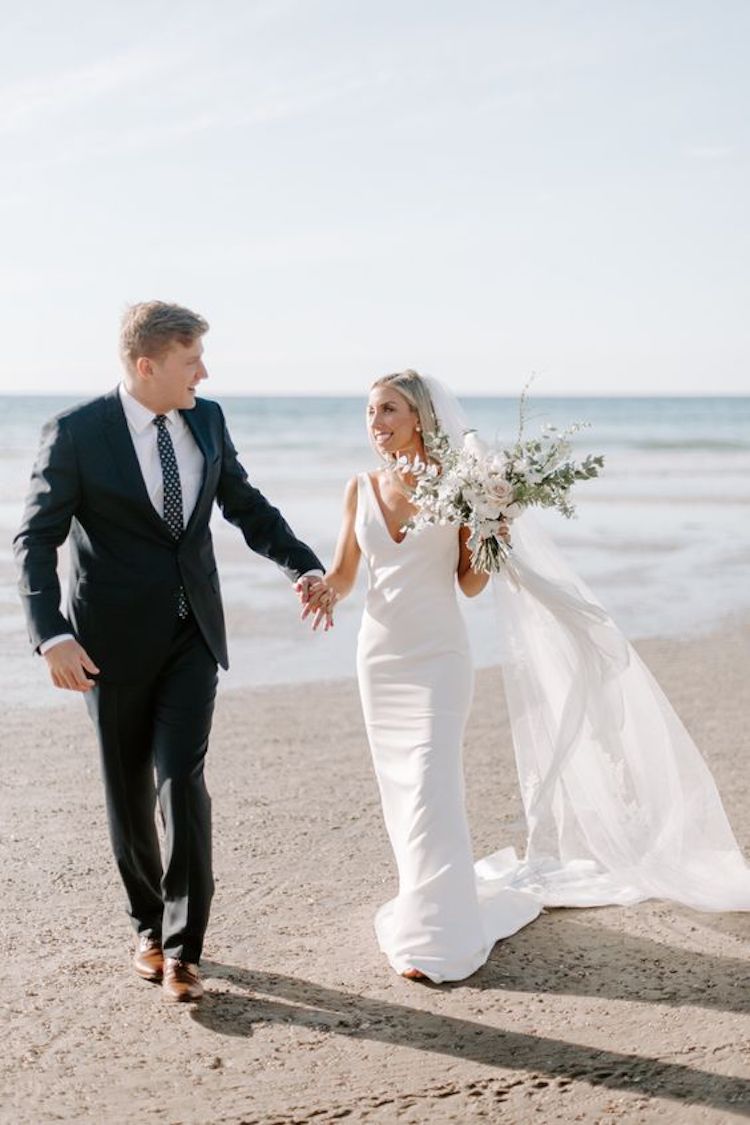
Photo credits: 1. RIVIERA veil via Michael Schultz Photography | 2. Katie Harmsworthy Photography | 3. Elina Upmane Photography | 4. Jonnie and Garrett Photography | 5. Erin and Tara | 6. Eva Rendl Photography | 6. Kayloe Bridal | 8. Kara Reynolds Photography
2. Consider a blusher layer
It’s often assumed a blusher layer on a veil is strictly for a church wedding. While there is often a requirement for brides to cover their face or shoulders in some church ceremonies, this doesn’t mean you can’t wear a blusher veil outside the church.
We love a blusher veil for a number of reasons. They add a beautiful silhouette to a simpler wedding gown, they make for some breathtaking photographs and they add an element of drama and regality to an outdoor wedding like no other accessory.
We’ve all seen Pinterest weddings with the couple embracing under a cocoon of a blusher veil. For an elopement or smaller wedding, adding a blusher layer to your veil can be non-negotiable for many brides!
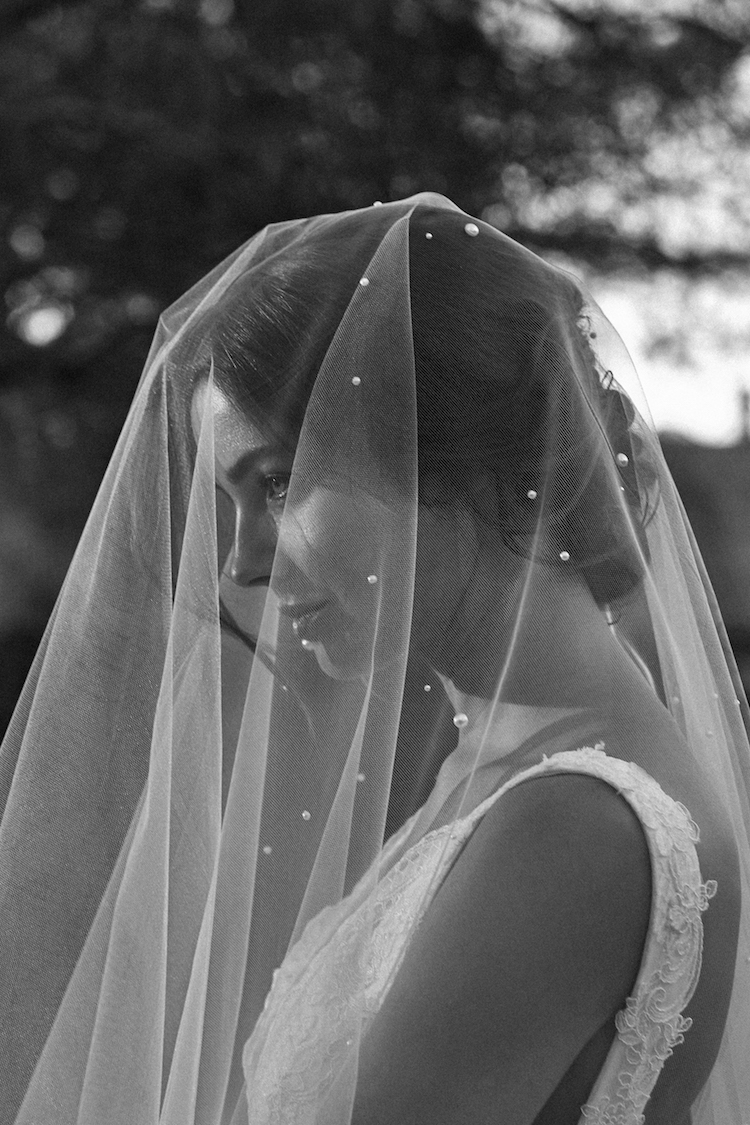
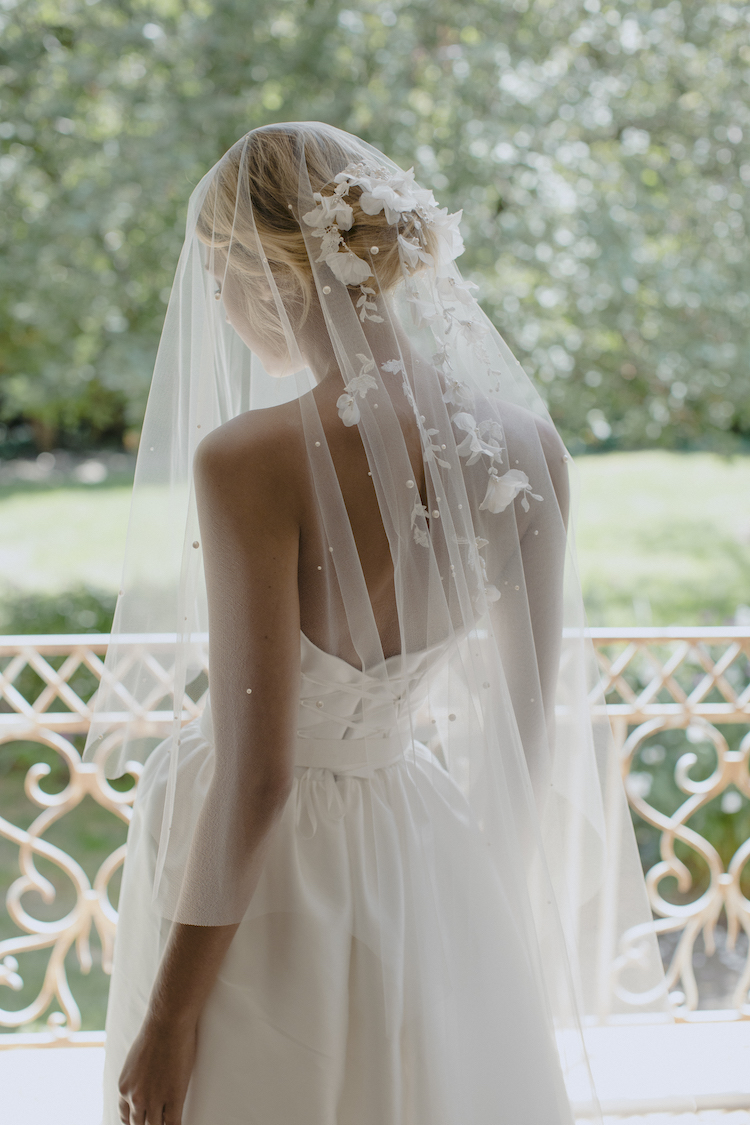
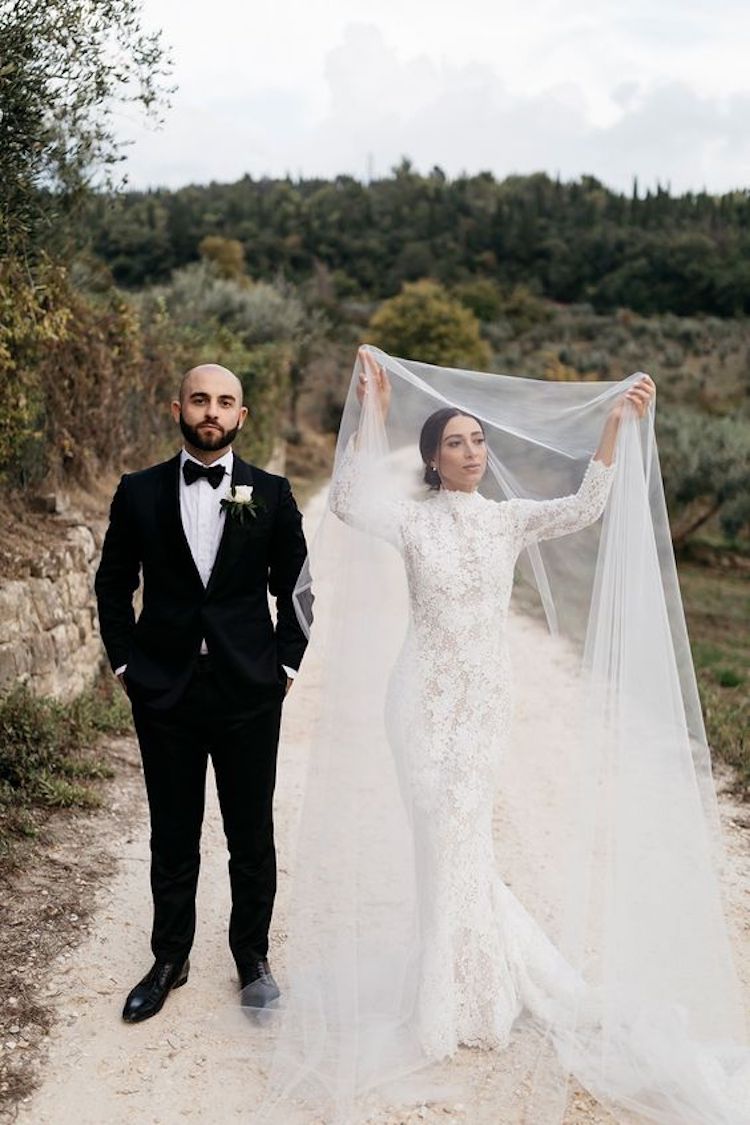
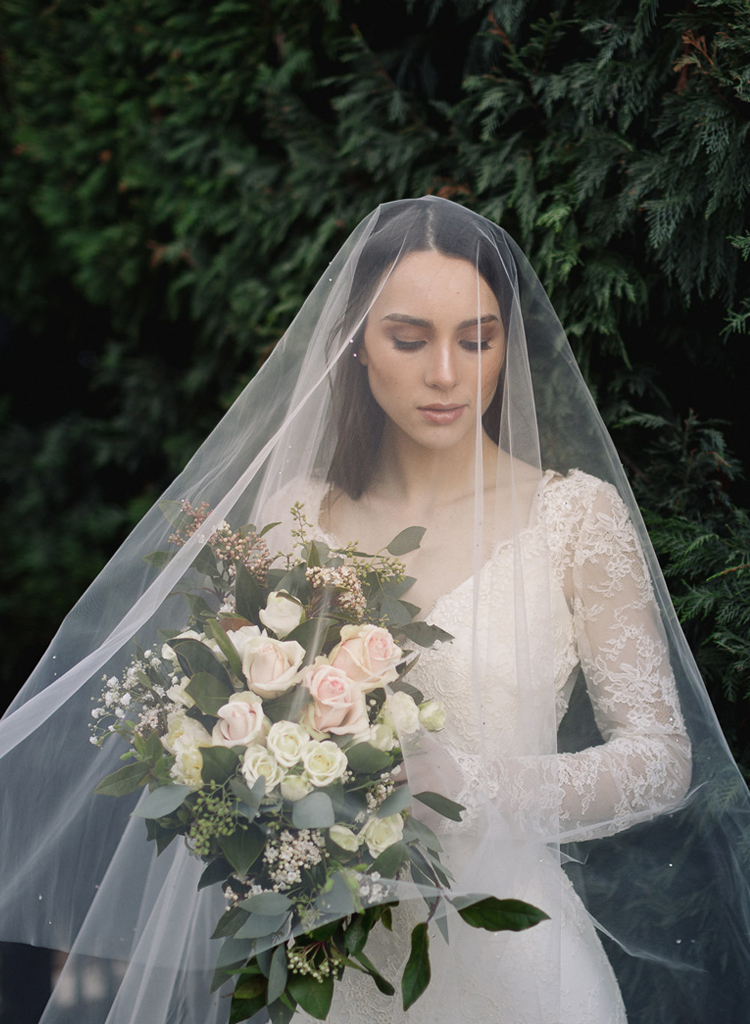
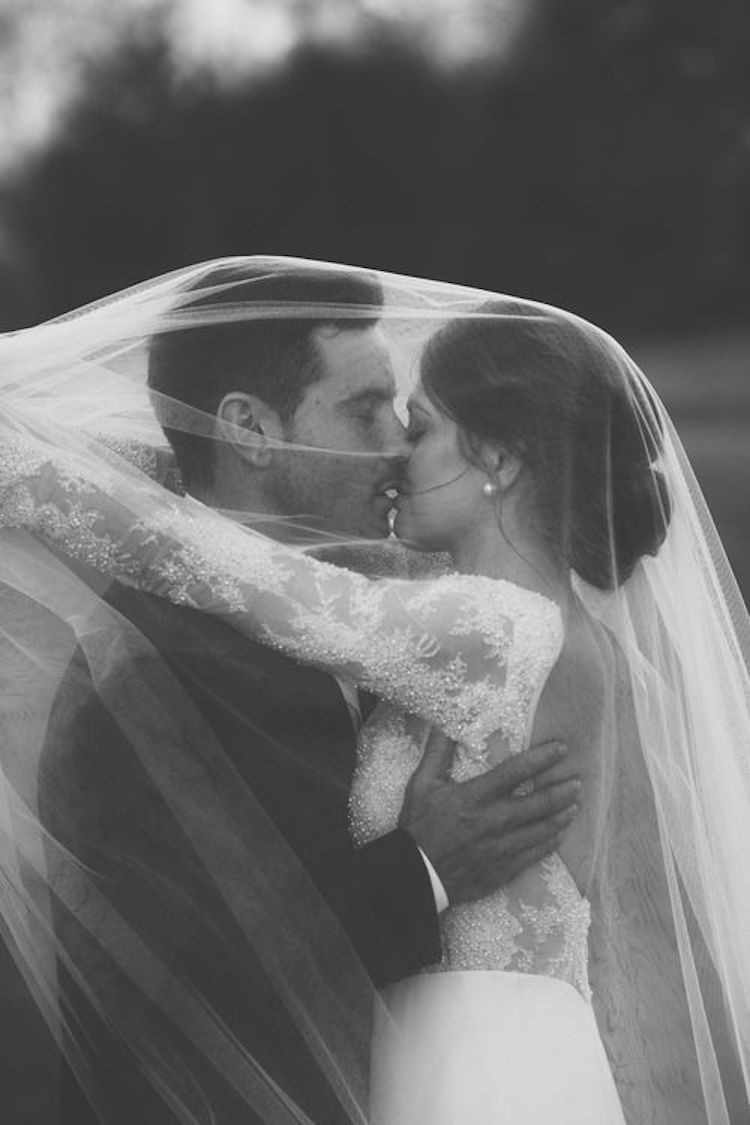
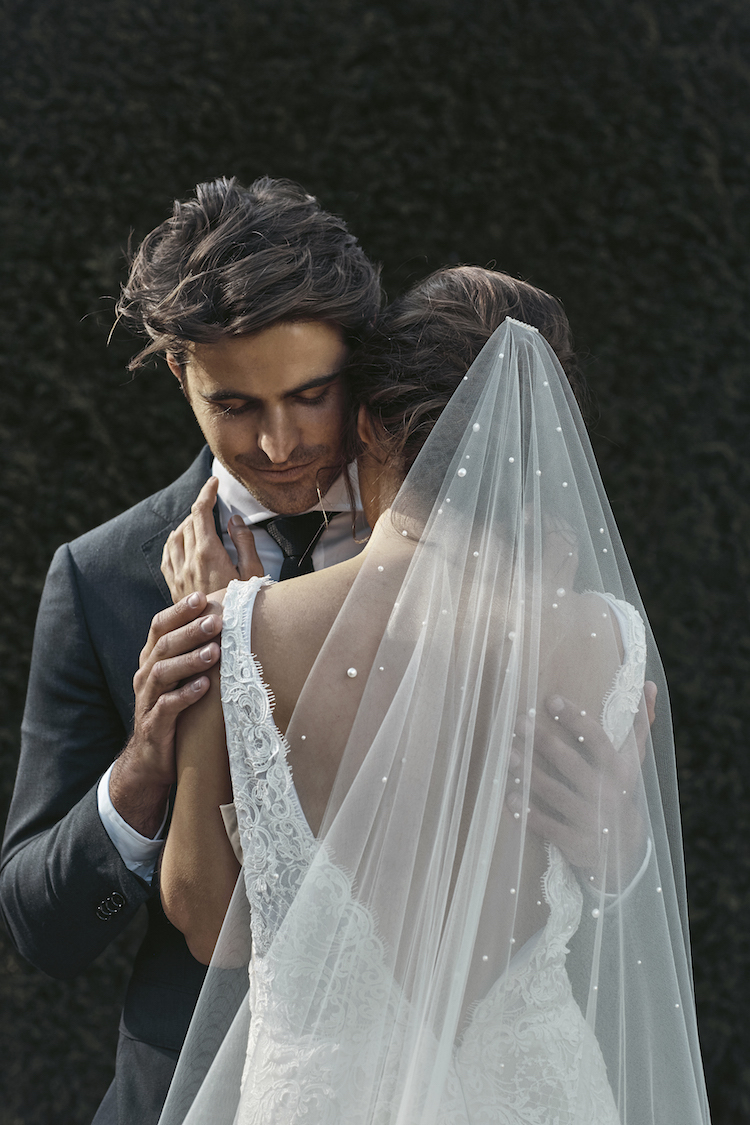
Photo credits: 1. THEODORE pearl veil | 2. WEEPING CHERRY floral veil | 3. Katie Harmsworth Photography | 4. MARGAUX veil by Keepsake Photography | 5. Rhodes Wedding Co | 6. THEODORE pearl veil
3.) There’s no better time to wear a short or mid-length veil
A short veil is often the go-to veil for small and intimate weddings because they can be easier to manage and can feel more suitable for the venue, say a backyard or town hall wedding ceremony.
The exact length that’s best for you will depend on your height, wedding dress silhouette and the vibe you’d like to achieve. The most flattering and versatile length of all is a fingertip length veil which offers a touch of length without the overwhelm.
Our top tip for short veils: Be sure to order a short or mid-length veil that has been customised for your height. A fingertip veil on a 5″ bride will look very different on a 6″ bride as your proportions will differ.
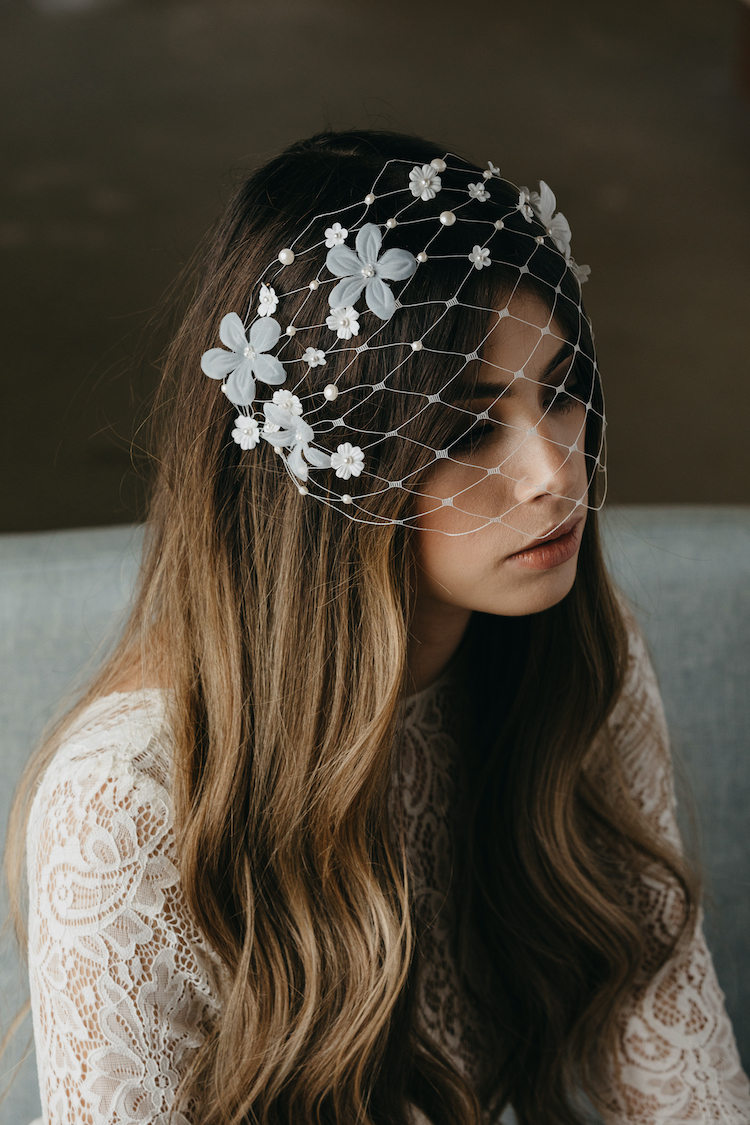
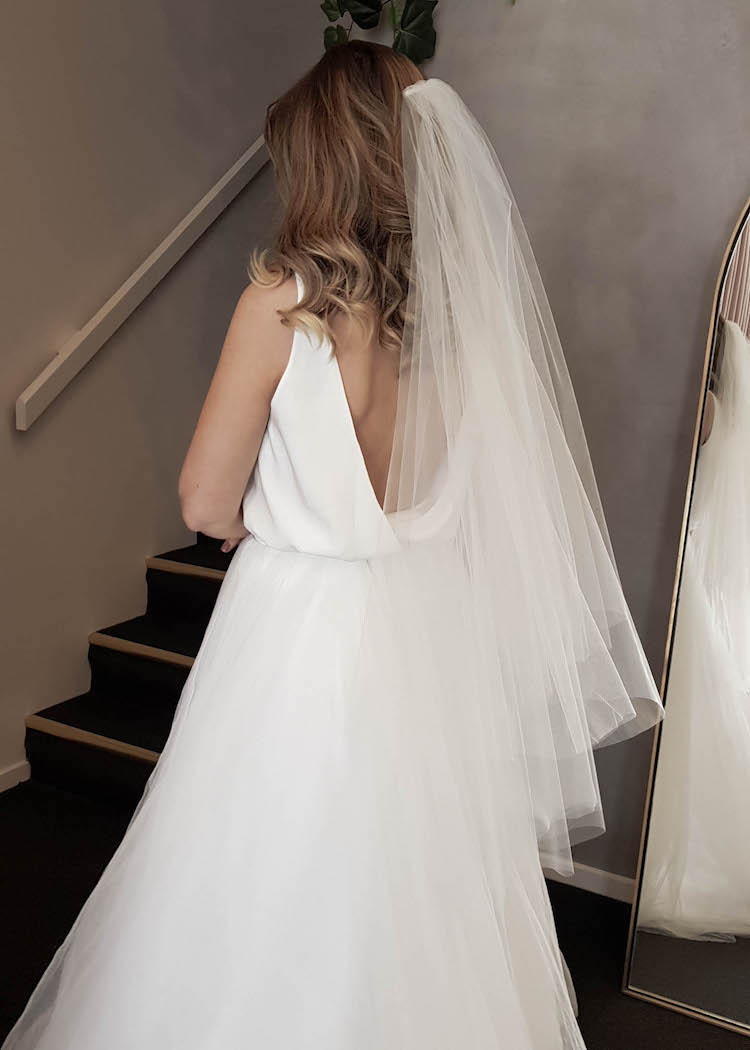
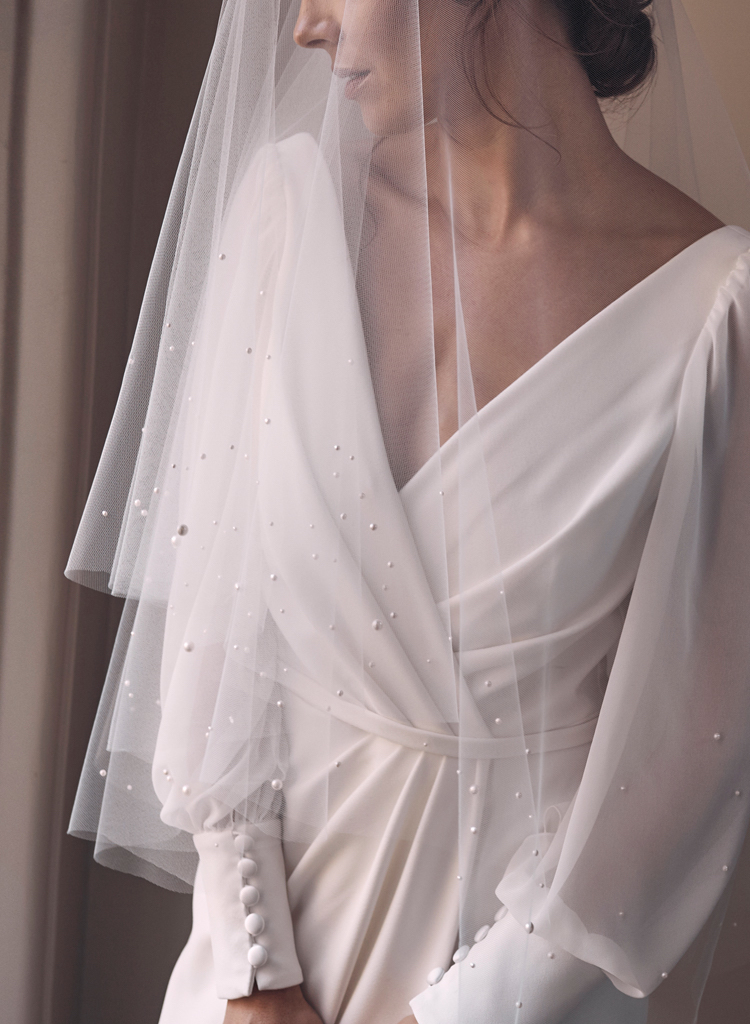
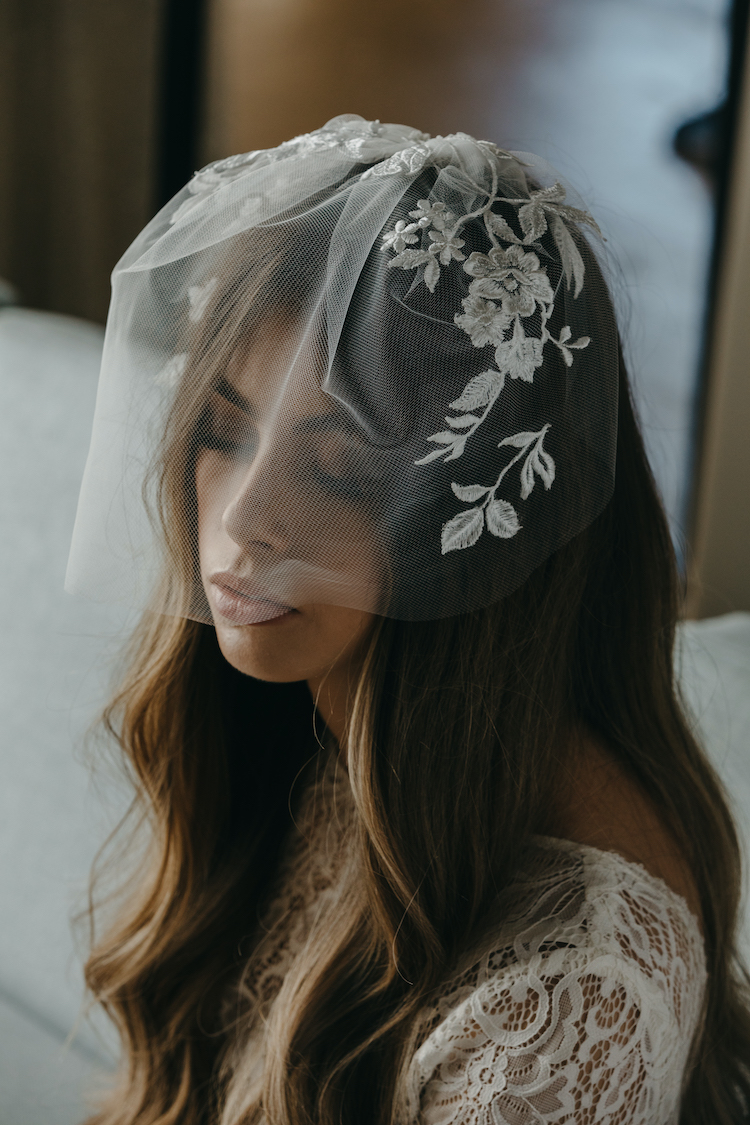
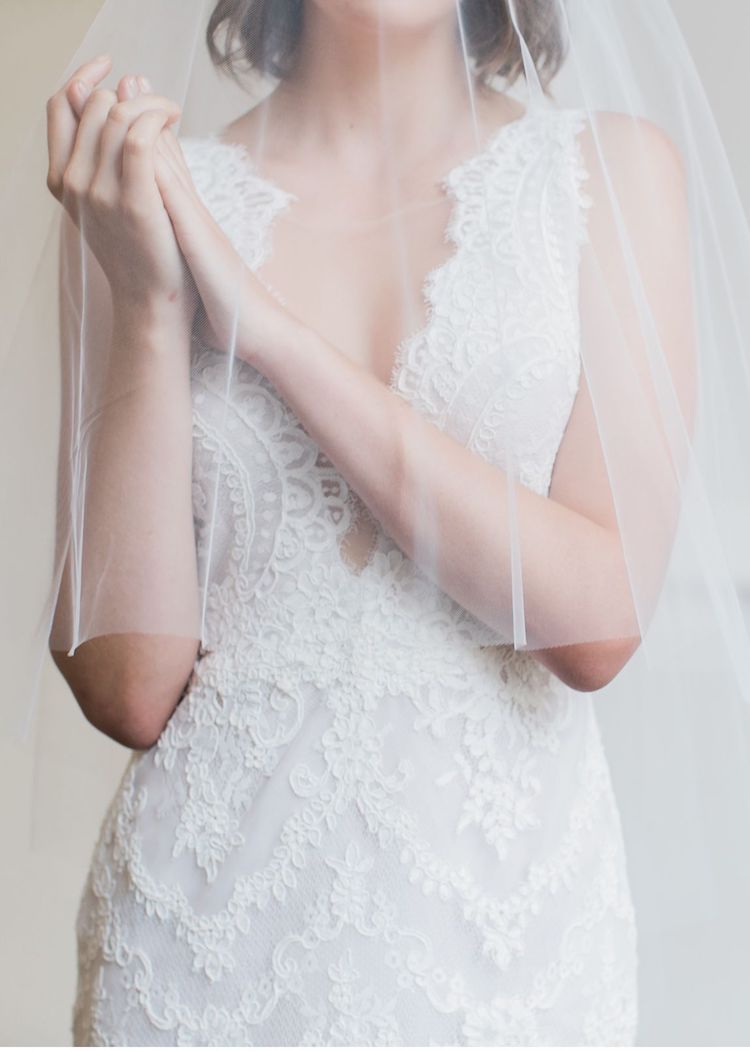
Photo credits: 1. PRIMAVERA veil | 2. ASTER veil | 3. LUMIERE pearl veil | 4. NOUVEAU veil| 5. KARELL veil
4.) Think about how to transport and store your veil
If you need to travel with your veil, take some time to think about how you’ll transport it to minimise creases and damage during transit. The best method will depend on the size of your veil, how far you’ll need to travel and the mode of transport.
- Carefully fold the veil into its box. The trick here is to minimise heavy creases by ensuring the box is an appropriate size for the veil. Try to avoid placing anything heavy on the fold lines and support the veil with tissue paper in between the layers to minimise creases.
- Hang the veil on a hanger or clip inside a garment bag. Ensure the netting doesn’t get caught in the zipper of the garment bag as this can create a tear.
Once you get to your destination, remove the veil from its box or hanger and find a safe place to hang it. To remove creases, simply hanging the veil in a steamy bathroom is often all you need to remove soft creases.
Our short and long veil collections are shipped out with a veil hanger for you to hang up your veil. Our veils also arrive in beautiful gift boxes for safe keeping.
5.) Drape the veil over your arm to lift it off the ground
So what do you do with your veil if you don’t have a bridal party to help you manage its length? It’s as easy as draping the veil over one arm to lift it off the ground.
By draping the veil over your arm as you walk around, this will keep dirt and leaves off your veil so that when you get to your destination for photographs, it will be in perfect condition with minimal creases.
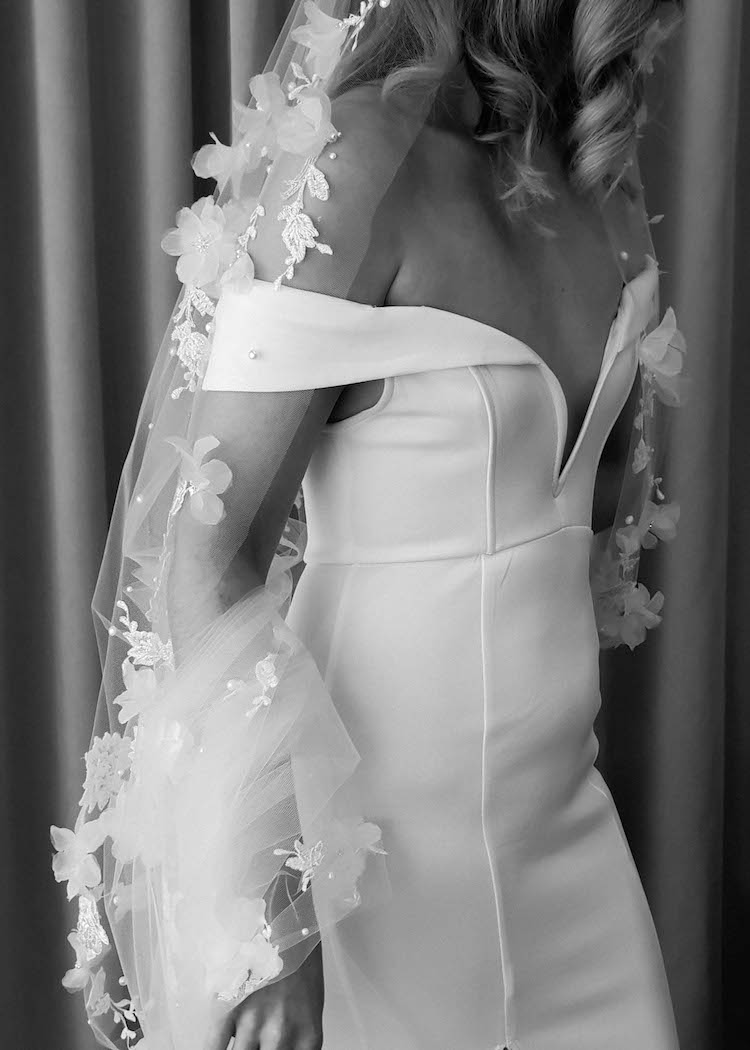
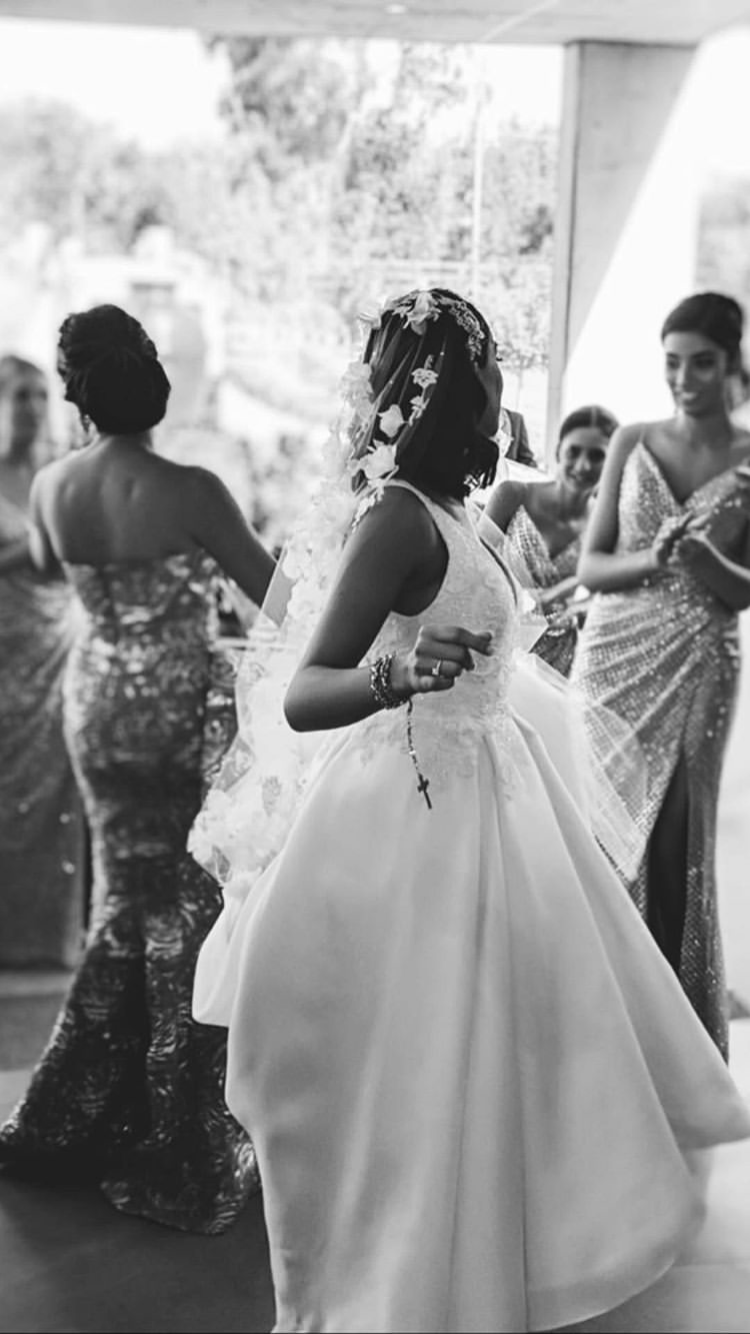
Photo credits: 1. RIVIERA veil | 2. RIVIERA veil
Need styling advice?
We love to work with our brides to help them pull together their bridal looks. If you are planning an elopement, have needed to change your wedding gown to suit your new venue, or if you’ve needed to downsize your wedding and aren’t sure what veil would suit your dress, feel free to get in touch with photos of your wedding gown and details about your wedding day. We’d love to offer advice and recommendations to suit.

